Table of Contents >> Show >> Hide
- Why Riders Want Higher Road Bike Handlebars
- Before You Start: Identify Your Front End
- Way 1: Move Headset Spacers Under the Stem
- Way 2: Flip the Stem, Install a Higher-Rise Stem, or Raise a Quill Stem
- Way 3: Change the Handlebar or Cockpit
- Common Mistakes to Avoid
- Which Method Should You Try First?
- Final Thoughts
- Rider Experiences: What It Actually Feels Like to Raise Road Bike Handlebars
- SEO Tags
Sometimes your road bike feels fast, sharp, and efficient. Other times it feels like a medieval device designed by someone who thinks neck stiffness is a personality trait. If your hands go numb, your neck starts writing complaint letters, or your lower back begins negotiating a peace treaty after every ride, your handlebar height may be part of the problem.
The good news is that raising road bike handlebars is often possible. The slightly less glamorous news is that there is no single magic trick. Your options depend on whether your bike uses a threadless stem, an older quill stem, or a more modern integrated cockpit that looks sleek enough to belong on a spaceship and is sometimes just as picky.
Below are the three smartest ways to raise road bike handlebars, plus the safety checks, fit clues, and real-world lessons that keep a simple comfort fix from becoming an expensive garage mystery.
Why Riders Want Higher Road Bike Handlebars
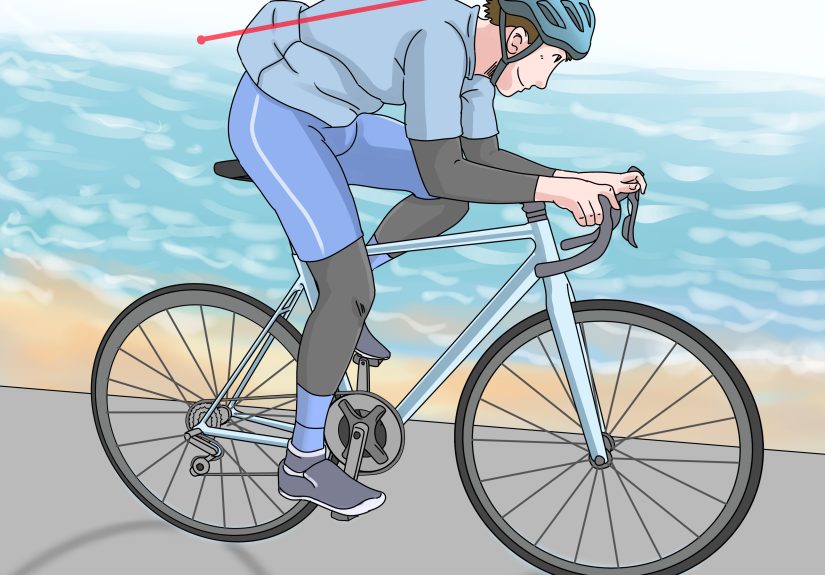
On a road bike, lower bars usually create a more aggressive position. That can be great for speed, aerodynamics, and feeling vaguely heroic. But there is a tradeoff. As the front end gets lower, more weight can shift onto your hands, shoulders, and neck. For many riders, especially newer riders, aging riders, long-distance riders, or anyone returning to the bike after a break, a small increase in handlebar height can make the bike feel dramatically better.
Higher bars usually create a more upright riding posture. That can reduce strain on the lower back, make breathing feel easier, and take some pressure off the hands. It can also make long endurance rides feel less like a yoga test you forgot to study for.
That said, higher is not automatically better. If the bars go too high, you can shorten the reach too much, crowd your cockpit, and end up pushing back against the bars in a way that creates fresh discomfort. In other words, your bike fit should feel balanced, not like you are steering from a recliner.
Before You Start: Identify Your Front End
1. Threadless stem
This is the most common setup on modern road bikes. The stem clamps around the outside of the fork steerer tube, and headset spacers sit above or below it. If your bike has this setup, you probably have the most straightforward adjustment path.
2. Quill stem
This is more common on older road bikes. The stem slides down inside the fork steerer and is tightened by an expander bolt. If you have a quill stem, you may be able to raise the bars without buying anything at all, provided the stem has room left above its minimum insertion mark.
3. Integrated cockpit
Some newer road bikes use semi-integrated or fully integrated bar-and-stem systems, often with internal cable routing. These can look stunning and ride beautifully, but adjustment can be more limited, more proprietary, or more shop-dependent. If your front end looks unusually aerodynamic and annoyingly expensive, this is probably your situation.
Basic tools
For most jobs, you will want the correct hex keys, a torque wrench, and a calm attitude. A rushed stem adjustment is how people learn new vocabulary in the garage.
Way 1: Move Headset Spacers Under the Stem
This is the easiest and most common method for raising handlebars on a threadless road bike. If there are spacers above your stem, you may already be sitting on free comfort and not even know it.
How it works
On a threadless setup, the stem sits on the steerer tube with spacers placed above it, below it, or both. Moving spacers from above the stem to below the stem raises the stem, which raises the handlebars. No new parts, no dramatic surgery, no spiritual consultation required.
How to do it
- Loosen the stem steerer clamp bolts.
- Remove the top cap.
- Slide the stem off the steerer.
- Move one or more spacers from above the stem to below it.
- Reinstall the stem and top cap.
- Preload the headset correctly, align the stem with the front wheel, and tighten all bolts to spec.
What to watch out for
The top cap is not what holds the stem on while you ride. Its job is to preload the headset bearings before the stem clamp bolts are tightened. The system also needs a small gap between the top of the steerer and the top cap so the bearings can preload correctly. If that detail sounds tiny, it is. It is also important.
You also need to respect your bike’s spacer limits. Different bikes and stems allow different amounts of spacer stack, and carbon steerers deserve extra caution. Follow the manual for your exact bike and stem, not advice from a random guy who says he once built a fixie in 2009 and therefore knows everything.
Best for
Riders who want a modest increase in bar height, usually the cleanest and cheapest kind. If you only need a little lift, this is often the best first move.
Way 2: Flip the Stem, Install a Higher-Rise Stem, or Raise a Quill Stem
If spacers are not enough, the next move is the stem itself. This is where road-bike comfort gets practical in a hurry.
Option A: Flip the existing stem
Many road stems are installed in a negative angle for a lower, racier position. If your stem is angled downward, flipping it upward can produce a noticeable increase in handlebar height. It is often the best bang-for-the-bolt change you can make.
The tradeoff is visual as much as mechanical. A flipped stem may look less race-day glamorous. On the bright side, your neck does not care what Instagram thinks.
Option B: Replace the stem with a higher-rise model
If you need more lift than a flip can provide, install a stem with more rise. This is one of the most effective ways to raise road bike handlebars without changing the entire bike. Many stems come in different angles and lengths, so you can fine-tune height and reach together instead of treating them like unrelated strangers.
That last part matters. Raise the bars too much without considering reach, and you may end up cramped. Sometimes the sweet spot is a shorter stem with moderate rise. Sometimes it is the same length with a steeper positive angle. The goal is not just “higher.” The goal is “better.”
Option C: Raise a quill stem on an older road bike
If your bike uses a quill stem, this may be the simplest solution of all. Loosen the expander bolt several turns, free the wedge, raise the stem to the desired height, and retighten it. The crucial rule is to stay below the minimum insertion mark. If that line is visible, the stem is too high. End of debate.
Older bikes can respond beautifully to this adjustment. A few millimeters can turn a vintage road bike from “beautiful but punishing” into “beautiful and actually rideable.”
Best for
Riders who need more than a small spacer adjustment, riders with older bikes, or anyone who wants a meaningful comfort increase without replacing the frame.
Way 3: Change the Handlebar or Cockpit
If spacers and stem changes still do not get you where you want to be, the bar itself may be the answer. This is the deeper fit solution, and often the smartest one when the problem is not just height, but also reach, wrist angle, and hand comfort.
Choose a compact bar
Modern compact drop bars often have shorter reach and shallower drop than older, more aggressive shapes. That can make the hoods easier to reach, the drops less intimidating, and the whole front end feel more humane. You may not technically raise the bars a huge amount, but you often create a riding position that feels noticeably higher and easier to manage.
Choose a bar with rise
Some bars are built specifically to add height. These are less traditional on pure race bikes, but increasingly common for gravel, all-road, endurance, and comfort-oriented setups. A raised drop bar can move the tops and hoods higher while preserving the multiple hand positions that make drop bars useful in the first place.
This option is especially attractive for riders who want comfort without stacking a tower of spacers or installing a stem that points skyward like a weather vane.
Think beyond height alone
The handlebar is not just a perch; it is one of your three contact points with the bike. Width, reach, drop, flare, and hood position all affect how the bike feels. If your bars are the wrong shape for your body, raising them helps, but it may not completely solve the problem. A better bar shape can improve comfort, control, and confidence all at once.
Integrated cockpit reality check
If your road bike uses a proprietary one-piece bar-and-stem system, your options may be more limited. You might still be able to change spacers, swap to a different proprietary stem, or choose a different size cockpit from the same brand. But this is where a quick garage tweak can become a “call the bike shop and ask a careful question” situation.
Best for
Riders chasing better comfort, not just more height; riders with hand numbness or awkward wrist angles; and riders on endurance or mixed-surface bikes who want a more natural all-day cockpit.
Common Mistakes to Avoid
- Ignoring torque specs: Stem and handlebar bolts are not a guessing game, especially with carbon parts.
- Exceeding minimum insertion on quill stems: If the mark is visible, stop.
- Assuming higher is always better: Too much rise can create a cramped cockpit and new pain points.
- Forgetting cable and hose length: A higher front end can pull on cables or brake hoses if there is not enough slack.
- Treating a fit issue like a parts issue: If your frame is dramatically wrong for your body, bars alone will not save the day.
- Overlooking integrated systems: Some modern cockpits are designed for specific spacers, stems, and bar shapes only.
Which Method Should You Try First?
If your bike has threadless spacers above the stem, start there. It is simple, inexpensive, and reversible. If you still need more height, flip the stem or install a higher-rise one. If the front end still feels too stretched or too low in real riding, consider a compact or raised handlebar that improves shape as well as position.
If you ride an older steel or aluminum road bike with a quill stem, check whether it can be raised safely before buying anything. Sometimes the cheapest solution is already attached to the bike.
If you ride a modern aero bike with hidden cables and a cockpit that looks like it was approved by a wind tunnel and a lawyer, check the manual before touching anything. Fast-looking bikes can be wonderfully adjustable, but they can also be gloriously particular.
Final Thoughts
The best way to raise road bike handlebars depends on how much height you need, what front-end system your bike uses, and whether the real issue is height alone or overall cockpit fit. Start with the simplest safe change. Test it on actual rides. Pay attention to your hands, neck, shoulders, and lower back. The right adjustment should make the bike feel calmer, more natural, and easier to ride for longer.
In the end, comfort is not the enemy of performance. For most riders, a bike you can stay happy on for three hours is a lot faster than a bike that feels amazing for 18 minutes and then turns into a chiropractor referral.
Rider Experiences: What It Actually Feels Like to Raise Road Bike Handlebars
In real-world riding, the change is often more dramatic than the numbers suggest. A rider might move only 10 millimeters of spacers and suddenly stop feeling like every ride is a slow-motion plank exercise. That is the funny thing about road bikes: they are incredibly sensitive machines, and your body notices small changes immediately, even if your eyes do not.
One common experience goes like this: a newer rider buys a road bike, loves the speed, and then spends the first month wondering why their palms feel buzzy after an hour. They assume this is just “part of road cycling,” the same way some people assume taxes or airport security are unavoidable features of adult life. Then the bars come up a little, the hoods get rotated into a more natural position, and suddenly the bike feels less like a challenge and more like a partner.
Another familiar story involves the former racer or ambitious weekend rider who used to love a long, low setup but no longer enjoys the aftermath. The bike still looks fantastic leaning against a coffee shop wall, but the rider is not twenty-five anymore, and the lower back has begun filing formal objections. In those cases, flipping the stem or fitting a higher-rise stem often feels like an admission of reality at first. Then the first long ride happens, the shoulders stay relaxed, the neck stops barking, and the rider starts wondering why they waited so long.
Older steel road bikes create their own special version of this experience. A rider pulls a classic bike out of storage, admires the chrome, the lugs, the old-school proportions, and then takes it out for a spin only to discover the bars are somewhere near knee level. A quick quill-stem adjustment can transform that experience. The bike still feels lively and elegant, but now it also feels rideable by a human who would prefer not to fold like a lawn chair.
Then there are endurance riders who chase comfort in a more strategic way. They do not just raise the bars; they rethink the whole cockpit. A compact bar with shorter reach, better hood placement, and a touch more height can make climbing, descending, and long steady cruising feel more secure. The difference is often emotional as much as physical. When the front end finally feels right, riders tend to relax. They look farther down the road. They descend with more confidence. They stop shifting around trying to escape their own bike.
What most riders discover is that the right handlebar height does not make the bike feel lazy. It makes the bike feel usable. You still have speed. You still have control. You just no longer feel like you are negotiating with your wrists every time the road tilts downward. And once you find that sweet spot, the bike disappears beneath you a little more. That is the goal, really. Not a dramatic makeover. Just a position that lets you ride longer, smile more, and save your complaints for the headwind instead.