
Table of Contents >> Show >> Hide
- The Basics of the HTML <img> Tag
- Common Ways to Insert Images in HTML
- Controlling Image Size and Layout
- Responsive Images with srcset, sizes, and <picture>
- Adding Captions with <figure> and <figcaption>
- Improving Performance with Lazy Loading
- Putting It All Together: A Practical Example
- Real-World Tips & Experiences When Adding Images with HTML
- 1. Your Local Machine Is Lying to You (About Paths)
- 2. Start with Content, Then Choose the Image
- 3. Make Friends with Designers (or Your Future Self)
- 4. Don’t Ignore Performance Until the End
- 5. Alt Text Is a Writing Skill, Not Just an Attribute
- 6. Use Captions to Reduce Confusion
- 7. Test on Different Devices (Seriously)
- Conclusion
A web page without images feels a bit like a pizza without toppingstechnically fine, but why would you do that
to yourself? Learning how to insert images with HTML is one of the first real “this looks like a website now!”
moments for beginners. The good news: it’s not hard. The better news: once you understand a few best practices,
your images will look sharp, load fast, and be accessible to everyone.
In this guide, we’ll walk through the <img> tag, file paths, responsive images, captions, performance
tricks like lazy loading, and real-world tips from the trenches of front-end development. By the end, you’ll know
exactly how to add pics to your projects without breaking your layout or your users’ patience.
The Basics of the HTML <img> Tag
The HTML <img> element is the standard way to embed an image in a web page. Technically, images
aren’t “inserted” into the HTML; the browser just creates a space and loads the image from the file path you give it.
Here’s the simplest possible example:
There are two essential attributes you should always include:
-
src: The source of the image this can be a file in your project or a full URL. -
alt: Alternative text shown when the image can’t load, and read aloud by screen readers
for people who can’t see the image.
The <img> tag is an empty element, which means it doesn’t have a closing tag. You’ll sometimes see it
written as <img ... />, especially in JSX or XHTML-style code, but both forms work in modern browsers.
Understanding the src Attribute
The src attribute tells the browser where to find your image. You can use either an absolute URL or
a relative file path.
Absolute URLs (images hosted elsewhere)
An absolute URL points to an image hosted on a server, often a CDN or another website:
This is common for CDNs, external image hosting, or when your images live on a different domain. Just remember:
if that URL goes down, your image disappears too.
Relative File Paths (images in your project)
More often, you’ll store images inside your project folder. In that case, you use a relative path:
Relative paths are based on the location of your HTML file. If they’re in the same folder, just use the file name.
If they’re inside a subfolder, include the folder name. This is the most common pattern in real projects and is
recommended in many beginner tutorials and Q&A threads.
Alt Text: Not Optional, Not Just for SEO
The alt attribute is more than a “nice to have.” It’s required for valid, accessible HTML. It serves
three key purposes:
- Accessibility: Screen readers read the alt text so visually impaired users understand the image.
- Fallback: If the image fails to load, the alt text still conveys the meaning.
- SEO: Search engines use alt text to understand image content, which can improve image search visibility.
Good alt text describes the content and purpose of the image, not every pixel. For example:
- Weak:
alt="image123" - Better:
alt="Golden retriever running on the beach" - Best (in context):
alt="Golden retriever demonstrating an active lifestyle for our pet care products"
Common Ways to Insert Images in HTML
1. Images from the Same Folder
If your HTML file and image are in the same folder, life is easy:
This is often how small practice projects are structured. Just don’t forget to move your images into a more
organized folder structure as your site grows.
2. Images from an images/ Folder
A very common pattern is to put all images into an images/ or assets/ folder:
This keeps your project tidy and matches examples from popular tutorials and documentation sites.
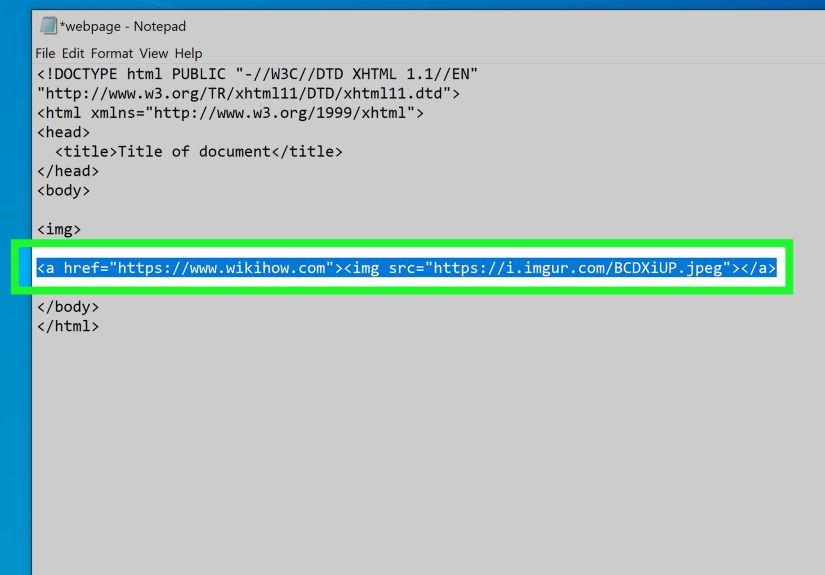
3. Images From a CDN or External URL
Using a CDN (Content Delivery Network) lets you serve images quickly from servers closer to your users. That’s why
many performance guides recommend uploading heavy images to optimized services and linking them via URL.
Just make sure you’re allowed to use the image and that hotlinking isn’t against the image host’s terms.
4. When Images Don’t Show Up (Debugging Paths)
If your image stubbornly refuses to show, check:
- File name and extension: Is it
.jpg,.jpeg,.png, or.webp? Case matters on many servers. - Folder path: Does the folder structure in your project actually match your
srcpath? - Browser DevTools: Look for 404 errors in the Network tab they usually mean “wrong path.”
Controlling Image Size and Layout
After you successfully insert an image, the next question is usually: “Why is it the size of a small planet?”
You can control image size using HTML attributes or, preferably, CSS.
Using width and height Attributes
The width and height attributes set the rendered size in CSS pixels, not necessarily the file’s
original pixel dimensions.
Providing width and height can help the browser reserve the right amount of space while the image loads, reducing
layout shifts something performance and UX guides strongly recommend.
Using CSS for Responsive Layout
For modern sites, it’s common to leave the HTML dimensions off and control layout with CSS instead:
This technique allows the image to shrink on smaller screens while keeping its aspect ratio, which is a standard
recommendation in responsive design tutorials.
Responsive Images with srcset, sizes, and <picture>
If you want your images to look sharp on both tiny phones and giant 4K monitors without sending a 4 MB file to everyone,
responsive images are your new best friend.
Simple Responsive Images with srcset
The srcset attribute lets you list multiple versions of the same image at different widths. The browser
then picks the best one based on the user’s screen.
Here’s what’s happening:
srcsetlists image files and their widths inwunits.sizesdescribes how much of the viewport width the image will take in different situations.- The browser does the math and chooses the most appropriate image automatically.
Art Direction with <picture>
Sometimes you’ll want completely different images on mobile and desktop maybe a tight crop on phones and a wide
banner on desktops. That’s where the <picture> element comes in.
The <picture> tag wraps multiple <source> elements and one fallback
<img>. The browser picks the first matching source based on the media queries; if none match, it uses the
<img> element.
Adding Captions with <figure> and <figcaption>
A lot of sites add captions under images using plain <div> tags, but HTML actually gives you a more
semantic option: <figure> and <figcaption>.
Why bother with <figure> instead of a random <div>?
- It’s more semantic: assistive technologies and search engines understand that the caption describes the image.
- It’s flexible: a figure can be moved without breaking the meaning in the surrounding content.
- Many HTML and accessibility guides specifically recommend this pattern for image captions.
Improving Performance with Lazy Loading
Big images can slow down your page, especially if you have lots of them below the fold. To avoid making users
download everything at once, you can use lazy loading.
Modern browsers support a simple attribute on <img> called loading that tells the browser
whether to load an image immediately or wait until it’s near the viewport.
Best practices from performance-focused articles suggest:
- Use
loading="lazy"for images that appear below the fold. - Keep
loading="eager"(or omit the attribute) for critical images like logos and hero banners. - Combine lazy loading with proper sizing and compression for the biggest wins.
Putting It All Together: A Practical Example
Here’s a mini example that uses several of the ideas above: a responsive image with a caption and lazy loading.
With just a few attributes, this image is accessible, responsive, performance-friendly, and semantically described.
That’s about as close to “perfect” as a single tag can get.
Real-World Tips & Experiences When Adding Images with HTML
Let’s step away from tidy textbook examples for a moment and talk about what actually happens when you use
<img> in real projects. If you’re just starting out, these lessons can save you hours of confusion and
some impressive “why is this broken only in production?” moments.
1. Your Local Machine Is Lying to You (About Paths)
One of the most common early mistakes is this: the images work perfectly on your computer, but go completely
missing once you upload the site to a server. The culprit is almost always file paths and case sensitivity.
Windows and macOS are pretty forgiving about uppercase vs. lowercase names; many servers are not.
If your code says src="Images/Hero.JPG" but the real folder is images and the file is
hero.jpg, it might still work locally but fail in production. A good habit is to:
- Use lowercase names consistently.
- Avoid spaces in file names (use dashes instead:
landing-page-hero.jpg). - Mirror the exact folder structure you’ll use on the server.
2. Start with Content, Then Choose the Image
When you first learn HTML images, it’s tempting to throw in whatever looks pretty. In real-world projects, the
better approach is to start with the content: what is this section trying to say? Then choose or design images
that support that goal.
For example, if a section describes how easy it is to set up a product, an image showing a simple setup screen or
a person effortlessly using the product is far more effective than a random stock photo of people high-fiving
in a meeting room. Your alt text becomes easier to write too, because the image has a clear purpose.
3. Make Friends with Designers (or Your Future Self)
In many teams, someone else will be creating or choosing images a designer, a marketer, or your future self
three months from now. Agree on simple rules early:
- Preferred formats (JPEG or WebP for photos, PNG or SVG for logos and icons).
- Standard widths (e.g., 400, 800, 1200 pixels) to make
srcseteasier to manage. - File naming conventions so you don’t end up with
final-final-header-new2.jpg.
When your assets are predictable, your HTML for images becomes much cleaner and more reusable.
4. Don’t Ignore Performance Until the End
It’s very easy to drag a gorgeous 8 MB photo into your site, see it working, and move on. The problem shows up
later when you test your page on a slow mobile connection and realize the hero image alone takes several seconds
to load.
A practical workflow:
- Compress images before adding them (there are many tools to reduce file size with little visible loss).
- Export multiple sizes so you can use
srcsetinstead of sending a giant file to everyone. - Add
loading="lazy"to non-critical images as you go, not as a last-minute patch.
Think of performance as part of your image-insertion process, not an optional extra step.
5. Alt Text Is a Writing Skill, Not Just an Attribute
Writing good alt text feels awkward at first, but it gets easier with practice. One helpful mental trick is this:
imagine you’re describing the page on a phone call to someone who can’t see it. What would you say about that
image in one short sentence?
If the image is purely decorative and doesn’t add meaning (for example, a subtle abstract background), you can
use an empty alt attribute: alt="". That tells screen readers to skip the image, which is actually
more helpful than reading a meaningless description like “blue background texture.”
6. Use Captions to Reduce Confusion
Users often scan pages quickly. A short caption inside <figcaption> can clarify why the image matters:
“Screenshot of the settings panel where you can enable dark mode” is much more informative than simply dropping
in a screenshot and hoping people figure it out.
Captions are especially powerful in tutorials, documentation, and blog posts. They connect the visual and the text,
and they provide extra context if someone lands on your page through image search.
7. Test on Different Devices (Seriously)
Finally, one of the most underrated habits: open your page on multiple devices. That gorgeous edge-to-edge image
on your desktop might turn into a tiny postage stamp on a phone or something that pushes all the important text
below the fold.
Try resizing your browser window, testing on your phone, and using DevTools’ device emulation. Watch how your
images scale, where they crop, and whether captions stay readable. This is where features like
max-width: 100%, srcset, and sizes really prove their value.
The more you work with images in HTML, the more you’ll develop a “feel” for what will look good and load quickly.
At that point, inserting images isn’t just about getting the syntax right it becomes part of crafting a smooth,
thoughtful user experience.
Conclusion
Inserting images with HTML starts with a simple <img> tag, but it quickly opens the door to bigger
topics: accessibility, performance, responsive design, and content strategy. By understanding src and
file paths, writing meaningful alt text, using srcset and <picture>, and
sprinkling in lazy loading and captions, you can make your images both beautiful and smart.
The next time you add a picture to your project, don’t just think, “Does it show up?” Ask, “Is this the right image,
loaded the right way, for the right user?” If the answer is yes, you’re well on your way to image-handling greatness.


