Table of Contents >> Show >> Hide
- What Are Floor Transition Strips, Exactly?
- Main Types of Floor Transition Strips
- How to Choose the Right Floor Transition Strip
- Common Materials for Transition Strips
- Installation Basics That Save You Regret Later
- Most Common Mistakes Homeowners Make
- Room-by-Room Examples
- Do You Always Need a Transition Strip?
- Final Thoughts
- What Real-Life Experience Teaches You About Floor Transition Strips
If flooring had a supporting actor award, floor transition strips would win every year and still somehow get left out of the acceptance speech. They are not flashy. Nobody walks into your house and gasps, “Wow, what a stunning reducer strip.” And yet, these humble finishing pieces do a lot of heavy lifting. They bridge height differences, protect flooring edges, help reduce tripping hazards, hide expansion gaps, and make one room flow into the next without looking like your floors met during an awkward blind date.
Whether you are joining hardwood to tile, vinyl plank to carpet, laminate to laminate, or one level of flooring to another that clearly refuses to cooperate, choosing the right floor transition strip can make the difference between a polished finish and a project that looks almost done forever. This guide breaks down what transition strips are, the main types, how to choose the right one, and the installation mistakes that cause the most headaches.
What Are Floor Transition Strips, Exactly?
Floor transition strips are narrow trim pieces installed where two flooring surfaces meet. Sometimes they connect floors of the same height. Sometimes they ease the slope between floors of different heights. Sometimes they finish off an edge where flooring stops at a door, fireplace, sliding glass door, or another vertical surface.
In plain English, they solve three big problems:
- They make the transition safer. A raw floor edge or abrupt height change is basically an invitation for socks, slippers, and toes to file a complaint.
- They protect vulnerable edges. Flooring edges can chip, curl, fray, or wear down faster when left exposed.
- They make the room look finished. Even a beautiful floor can look slightly chaotic without a clean, intentional break between materials.
They are especially important with floating floors, such as laminate and many luxury vinyl plank systems, because those floors need room to expand and contract. A transition strip often covers that gap while still letting the floor move the way it is designed to.
Main Types of Floor Transition Strips
The names can sound a little technical, but most transition strips are pretty easy to understand once you know what job each one is meant to do.
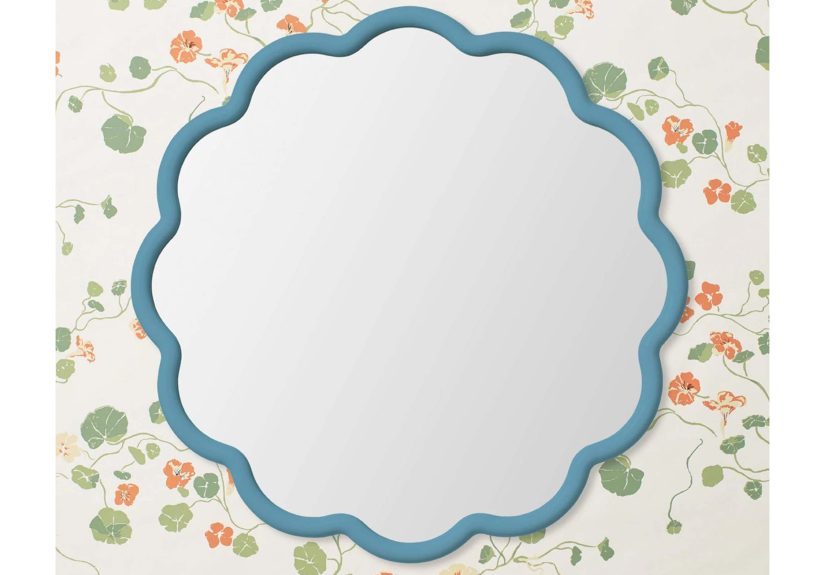
T-Molding
T-molding is one of the most common transition strips. It is shaped like a capital T and is usually used where two hard-surface floors of similar height meet, such as hardwood to hardwood, laminate to laminate, or vinyl plank to tile when the surfaces are nearly level.
The top of the molding covers the seam, while the lower section fits into a track or gap below. It creates a clean, centered transition and is a go-to choice in doorways or openings between rooms.
Best for: same-height transitions between hard flooring surfaces.
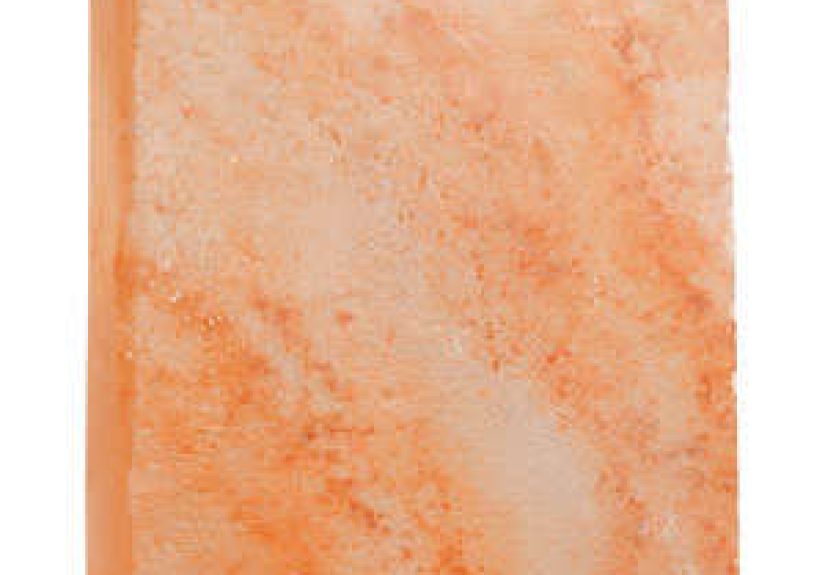
Reducer Strip
A reducer strip is used when one floor sits higher than the other. Instead of a sudden edge, it creates a gentle slope down from the taller surface to the lower one. This is ideal when hardwood meets sheet vinyl, laminate meets concrete, or thick flooring meets a thinner material.
Think of the reducer as the diplomat of the flooring world. It helps two very different surfaces get along without causing a scene.
Best for: uneven floor heights and smoother walking transitions.
Threshold or End Cap
Thresholds and end caps are often used where flooring ends against a vertical surface rather than another floor. Common examples include exterior doors, sliding door tracks, fireplaces, hearths, and built-in cabinets. Some brands call this piece a baby threshold; others call it an end molding or end cap.
It finishes the edge neatly and can also help bridge a slight change in height, depending on the profile.
Best for: doorways, fireplaces, sliding glass doors, and places where flooring stops instead of continuing.
Seam Binder or Surface Binder
A seam binder is often used to connect flooring materials and cover exposed seams, particularly where durability matters more than a fully invisible look. You will often see metal seam binders in utility spaces, rental properties, and older homes where practical choices beat precious ones every time.
Best for: durable seam coverage, especially where flooring edges need extra protection.
Carpet Transition Strip
When carpet meets a hard surface floor, a carpet transition strip helps protect the carpet edge and create a cleaner break between the two materials. Some systems use metal strips, while others use more decorative profiles designed to blend in.
Best for: carpet-to-hardwood, carpet-to-vinyl, or carpet-to-tile transitions.
Stair Nose
Technically, stair nose trim is its own category, but it deserves a mention because people often confuse it with regular transition strips. Stair nosing finishes the exposed front edge of a stair tread and helps create a safer, more durable edge. If you are working on steps, use stair-specific pieces rather than forcing a flat transition strip to do a job it was never born to do.
Best for: stairs, landings, and step edges.
Tile and Metal Edge Profiles
In bathrooms, kitchens, and modern remodels, metal edge profiles are often used where tile meets another surface. These can create a sleek, contemporary finish while protecting tile edges from chipping. They are especially useful when you want the transition to feel crisp rather than bulky.
Best for: tile edges and modern, low-profile transitions.
How to Choose the Right Floor Transition Strip
Choosing the right strip is less about brand loyalty and more about answering a few practical questions.
1. Are the Floors the Same Height?
This is the first and biggest question.
- If the floors are about the same height, start by looking at a T-molding.
- If one floor is higher than the other, you probably need a reducer.
- If the floor ends at a door, fireplace, or another vertical stop, a threshold or end cap is often the better fit.
2. What Flooring Materials Are You Joining?
Hardwood, laminate, vinyl plank, carpet, tile, and concrete all behave differently. Carpet needs edge control. Tile benefits from chip protection. Floating floors need expansion space. A good transition strip works with the materials involved instead of just covering the seam and hoping for the best.
3. Is the Floor Floating or Fixed?
This matters more than many DIYers realize. Floating floors expand and contract with seasonal changes. That means the transition strip or track should generally be attached according to the manufacturer’s instructions so the flooring can still move freely. In other words, do not accidentally trap your floor in place and then act surprised when it starts misbehaving.
4. How Visible Is the Transition?
A hallway doorway and a front entryway get different levels of scrutiny. For a highly visible transition, color match and profile style matter. Wood-look moldings, metal trims, and multifunctional profiles all create different looks. In low-visibility spots, durability might matter more than perfect camouflage.
5. How Much Traffic Will It Get?
Busy households, pets, kids, rolling chairs, and frequent foot traffic all put stress on transition pieces. In those areas, tougher materials like aluminum or high-quality engineered profiles often outperform flimsy budget trims.
Common Materials for Transition Strips
Transition strips come in more than one flavor, and each has its strengths.
- Solid wood: warm, classic, and easy to match with hardwood floors. Great for traditional interiors, though not always ideal in wet areas.
- Engineered or laminate-matched trim: designed to coordinate with specific floor collections, which makes the finish look more intentional.
- Vinyl transition pieces: good for luxury vinyl plank and other resilient flooring, especially in moisture-prone rooms.
- Aluminum or metal: durable, clean-looking, and excellent for high-traffic zones or modern spaces.
- Multi-function profiles: one product can sometimes be configured as a T-molding, reducer, or end cap, which is handy when your project takes a few unexpected turns.
Installation Basics That Save You Regret Later
Transition strips are usually one of the last steps in a flooring project, which is exactly why people rush them. Resist that urge. The floor may already look done, but this final detail can either sharpen the whole project or make it look like you ran out of patience 20 minutes before the finish line.
Measure the Opening Carefully
Measure the doorway or transition area precisely, then dry-fit the strip before securing it. This is not the time for “close enough.” Floor transitions sit in obvious places, and even small mistakes stand out.
Match the Profile to the Height Difference
Do not force a T-molding into a reducer’s job. If the height difference is noticeable, use the strip designed for that difference. The right profile will look better, feel better underfoot, and last longer.
Preserve Expansion Gaps
If you are installing over a floating floor, keep the required expansion gap. The transition piece should cover the gap, not eliminate it. This is one of the most important technical details in the whole process.
Follow the Attachment Method for Your Product
Some transition strips snap into tracks. Some are glued. Some use screws or anchors into the subfloor. The method depends on the product and subfloor. Always follow the product instructions rather than improvising with whatever adhesive or fastener is currently nearest your coffee cup.
Cut with the Right Tool
Wood and laminate profiles often need a miter saw or fine-tooth blade. Metal trims may require a saw blade designed for nonferrous metal. Ragged cuts ruin the finish fast, so use a tool that leaves a clean edge.
Most Common Mistakes Homeowners Make
- Choosing by appearance only. Pretty matters, but function matters first.
- Ignoring height differences. A bad profile choice feels awkward every single time you walk over it.
- Pinning down a floating floor. This can cause buckling, gaps, or stress later.
- Skipping the transition entirely. Sometimes people think no strip will look more modern. Sometimes it does. Sometimes it just looks unfinished and becomes a toe-stubbing hazard.
- Using the cheapest trim available. Budget trim can work, but flimsy pieces in high-traffic zones often age badly.
- Forgetting moisture conditions. Wood transitions near wet entries or bathrooms are not always the best choice.
Room-by-Room Examples
Hardwood to Tile at a Kitchen Entry
If the hardwood and tile sit at nearly the same height, a T-molding may work. If the tile sits lower, a reducer is often the better option. If the tile edge is exposed, a protective profile becomes even more important.
Luxury Vinyl Plank to Carpet in a Bedroom
A carpet transition strip or end profile helps hold the carpet edge neatly while giving the vinyl a clean stopping point. This is one of those transitions that should feel smooth underfoot, especially if you are the type who shuffles to bed like a tired penguin.
Laminate at a Sliding Glass Door
A threshold or end cap is usually the practical choice here because the flooring is ending at a vertical surface rather than continuing into another room.
Open Doorway Between Two Rooms with Floating Floors
When the floors are the same height, a T-molding is typically the classic answer. In some floating-floor systems, transition pieces are also recommended or required in certain doorways and wide spans to manage movement.
Do You Always Need a Transition Strip?
Not always, but often. In some modern designs, flooring can be installed for a nearly seamless look, especially if the materials and heights match perfectly and the installation method allows it. But “seamless” should be a technical decision, not a wish. If the edge needs protection, the floor needs movement space, or the height change is noticeable, a transition strip is usually the smarter call.
Final Thoughts
Floor transition strips are one of those details that seem minor until they are wrong. Then they become impossible to ignore. The right strip makes your flooring safer, cleaner, stronger, and more polished. The wrong one can make a brand-new renovation feel unfinished or awkward.
So when you get to the point in your project where you are tempted to shrug and say, “Eh, I’ll just grab whatever trim is closest,” take a breath. Check the floor heights, identify the materials, confirm whether the floor floats, and choose the profile built for that exact transition. Your future self, your guests, and your socked feet will all appreciate the effort.
What Real-Life Experience Teaches You About Floor Transition Strips
The funny thing about floor transition strips is that most people do not think much about them until one goes wrong. I learned this the same way many homeowners do: by staring at a doorway and thinking, “Why does this one little strip bother me more than the entire cost of the remodel?” It turns out a bad transition strip can quietly annoy you every single day. It can click when you walk over it, catch dust at the edge, look slightly crooked in afternoon light, or feel like a tiny speed bump every time you carry laundry from one room to another.
One of the biggest lessons from real-world projects is that transitions are rarely just cosmetic. In older homes, floors are often not perfectly level, openings are not perfectly square, and materials from different eras absolutely do not want to cooperate. On paper, you think you are connecting vinyl plank to tile. In reality, you are connecting a 2026 flooring product to a mystery tile floor installed sometime during humanity’s beige era. That is when the “close enough” approach falls apart.
I have also noticed that homeowners tend to underestimate how much traffic these little pieces handle. The transition between a hallway and kitchen might get stepped on more than almost any other spot in the house. If that trim is flimsy, poorly secured, or the wrong profile, it will tell on you fast. It may loosen, flex, or wear down long before the rest of the floor does. Suddenly the cheapest piece in the project becomes the most irritating one.
Another experience-driven truth is that matching matters, but not always in the way people think. Many people become obsessed with finding a transition strip that is a perfect color match, as if the house will collapse if the oak tone is off by half a shade. In practice, profile and fit often matter more. A transition that is structurally right and visually clean will usually look better than a perfectly matched piece that is functionally wrong. A slightly different tone can look intentional. A badly chosen profile never does.
There is also a psychological side to all this. A smooth transition makes a house feel calmer. Rooms connect better. The flooring looks planned instead of patched together. You stop noticing the doorway, which is exactly the point. The best floor transition strips do their job so well that they disappear into the background. They are like excellent editing in a movie: if you notice it too much, something probably went wrong.
And perhaps the most practical lesson of all is this: install transitions with the same care you gave the floor itself. Do not treat them like an afterthought just because they come at the end. Measure carefully, dry-fit the piece, choose the correct profile, and follow the installation instructions for your floor type. It is a small amount of extra patience for a result you will walk across every day for years. In home projects, those tiny finishing decisions are often the ones that separate “good enough” from “that came out really well.”