Table of Contents >> Show >> Hide
- Why a Chalkboard Wall Still Works (Even in a World of Apps)
- Chalkboard Paint vs. Chalk Paint (The Mix-Up That Ruins Weekends)
- Plan First: Where Should the Chalkboard Wall Go?
- Tools and Materials Checklist
- Step-by-Step: How to Make a Chalkboard Wall
- 1) Safety check: especially for older homes
- 2) Clear the wall and clean it like you mean it
- 3) Patch, smooth, and create the flattest surface you can
- 4) Tape it off for crisp edges (and fewer regrets)
- 5) Prime (when needed) so the finish stays even
- 6) Stir well and apply chalkboard paint in thin, even coats
- 7) Let it cure (this is where most people get impatient)
- 8) Season (condition) the wall so it erases cleanly
- 9) Start using itsmartly
- Optional Upgrades That Make It Even Better
- Maintenance and Cleaning (Without Destroying the Finish)
- Troubleshooting: Fix the Stuff That Drives People Nuts
- Design Ideas That Look Intentional (Not “Accidental Blackboard”)
- Real-World Experiences ( of “What People Learn the Hard Way”)
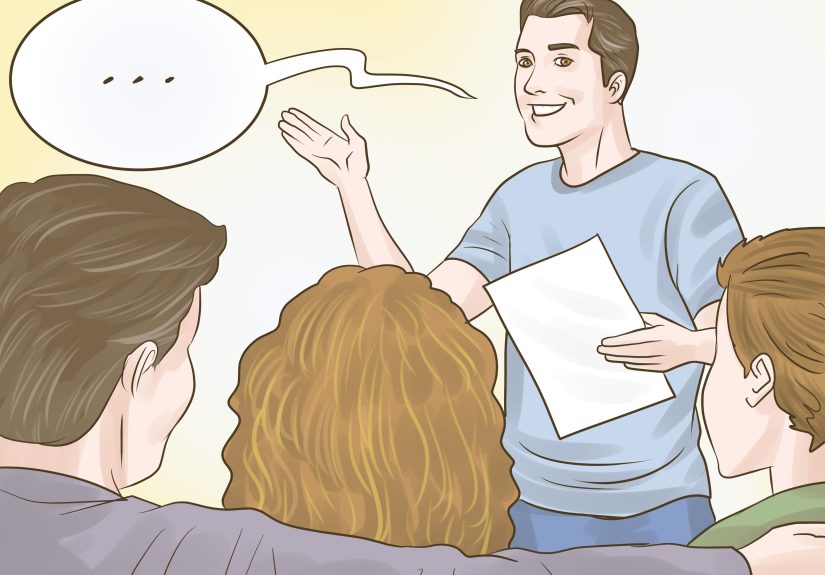
A chalkboard wall is basically a “permission slip” to be messy on purposewithout actually being messy.
It’s part décor, part organization tool, and part creative outlet. One day it’s a grocery list, the next it’s a
dramatic stick-figure reenactment of your Tuesday. (Academy Award-worthy. No notes.)
The best part? This is a beginner-friendly DIY that looks legitimately pro when you do the unglamorous prep work
(yes, the part where you sand a wall and question your life choices). In this guide, you’ll learn how to make a
chalkboard wall that writes smoothly, erases cleanly, and doesn’t haunt you with permanent “ghost” messages.
Why a Chalkboard Wall Still Works (Even in a World of Apps)
A good chalkboard wall is low-tech in the best way: no charging, no updates, and it won’t crash because you looked at it wrong.
It’s great for families (menus, schedules, “don’t forget the science fair volcano”), for home offices (brainstorms, goals),
and for anyone who needs a designated spot to dump thoughts that would otherwise live on 47 sticky notes.
Chalkboard Paint vs. Chalk Paint (The Mix-Up That Ruins Weekends)
These two sound like siblings, but they’re more like distant cousins who don’t talk at reunions.
Chalkboard paint is made to dry into a write-on, wipe-off surface.
Chalk paint (the furniture kind) is for a matte, vintage look and usually gets sealed with wax or a topcoat.
If you paint a wall with chalk paint and try to write on it… you’ll discover new emotions.
Plan First: Where Should the Chalkboard Wall Go?
Pick a spot with a purpose
Think about how you’ll actually use it:
a kitchen message center, a kid-friendly drawing zone, a home office idea wall, or a mudroom “launch pad.”
Choose a wall that’s easy to reach and not directly behind a couch you never plan to move again.
Decide the size: full wall, accent section, or framed “panel”
A full wall is bold (and awesome). A taped-off rectangle is more flexible (and less commitment-phobic).
If you like a clean, finished look, you can paint a rectangle and later add a simple wood frame or trim around it.
Choose your finish: black, color, or clear
Classic black is timeless, but you’re not obligated to cosplay as a 1900s classroom. Many chalkboard paints come in
colors, and some clear versions can go over an existing wall color so you can keep your “perfect greige” while still writing on it.
Tools and Materials Checklist
- Chalkboard paint (or clear chalkboard paint)
- Primer (recommended for bare drywall, patched spots, glossy paint, or stain-prone surfaces)
- Painter’s tape and drop cloths/plastic sheeting
- Spackle/joint compound for holes and dents
- Sanding sponge or sandpaper (fine grit for smoothing)
- Tack cloth or microfiber cloth (to remove dust)
- Angled brush (for edges) and a foam roller (for a smoother finish)
- Paint tray, stir stick, and a step ladder (if needed)
- Standard white chalk for “seasoning” (conditioning the surface)
Step-by-Step: How to Make a Chalkboard Wall
1) Safety check: especially for older homes
If your home was built before 1978, assume the paint could contain lead until you know otherwise.
Sanding or scraping old paint can create hazardous dust. If you’re unsure, consider testing or hiring a lead-safe certified pro.
At minimum, use containment (plastic sheeting), keep kids/pets away, and clean up carefully.
2) Clear the wall and clean it like you mean it
Remove outlet covers, wall décor, and anything that will mysteriously “catch” paint later.
Wash the wall with mild soap and water to remove grease and grime (kitchens are sneaky like that), rinse, and let it dry fully.
Paint hates dirt. Paint hates grease. Paint will hold a grudge.
3) Patch, smooth, and create the flattest surface you can
Chalkboard walls work best when they’re smooth. Fill holes and dents with spackle or joint compound, let it dry, and sand flush.
If your wall is heavily textured, you have two good options:
- Skim coat a section with joint compound to smooth it out (more work, best writing experience).
- Mount a smooth panel (like MDF) and paint that instead (less mess, still looks great).
After sanding, wipe away dust thoroughly. Dust left on the wall is basically “anti-adhesion seasoning” (not the fun kind).
4) Tape it off for crisp edges (and fewer regrets)
Use painter’s tape to outline your chalkboard area. Press the tape edges down firmly.
Pro tip: If you want super-sharp lines, lightly paint over the tape edge with your wall color first.
That seals tiny gaps so your chalkboard color doesn’t bleed underneath.
5) Prime (when needed) so the finish stays even
Primer isn’t always mandatory, but it’s often the difference between “smooth chalkboard” and “why is this patchy?”
Prime if you have:
- Bare drywall or new joint compound
- Stains, knots, or wood that could bleed through
- A glossy surface (scuff-sand first, then prime)
- A very dark wall color that you’re covering
Let the primer dry fully. On wood, a light sanding after priming can help create a smoother final writing surface.
6) Stir well and apply chalkboard paint in thin, even coats
Stir the paint thoroughly. (If you shake it like a smoothie, you can create bubblesbubbles become texture, texture becomes sad chalk writing.)
Cut in the edges with an angled brush, then roll the main area with a foam roller for a smoother finish.
Apply two coats minimum. Three coats can be worth it on porous surfaces or if you want a deeper, more uniform finish.
Let each coat dry according to the label before recoating. If you want a truly smooth surface, lightly sand between coats once dry,
then wipe away dust before the next coat.
Try not to “over-roll” the paint once it starts drying. That can create drag marks and uneven texture.
Think: calm, steady passes. Not: frantic cardio session.
7) Let it cure (this is where most people get impatient)
Dry-to-the-touch is not the same as cured. Many manufacturers recommend letting chalkboard finishes cure for about 3 days
before using them. If you start writing too early, you can end up with stubborn ghosting and a surface that doesn’t erase well.
Also pay attention to temperature guidelinessome products don’t want to be applied below about 50°F.
8) Season (condition) the wall so it erases cleanly
Seasoning is simple and wildly important:
once cured, rub the side of a white chalk stick over the entire surface, covering every inch.
Then erase it with a clean, dry cloth or felt eraser. This leaves a fine chalk “base” in the pores and helps prevent permanent first-message shadows.
9) Start using itsmartly
Standard chalk is easiest and safest for most chalkboard paints. Chalk markers can be amazing, but some chalkboard surfaces
don’t love “chalk ink” and can stainalways test in a corner first. If you want the cleanest erasing, stick with basic chalk
and save fancy markers for surfaces that explicitly say they’re compatible.
Optional Upgrades That Make It Even Better
Make it magnetic (a.k.a. the “command center” upgrade)
If you want to hang papers, photos, or kids’ art, magnetic primer can turn your wall into a magnetic chalkboard.
The key is multiple coats, frequent stirring (magnetic particles settle), and keeping the top coats reasonable
so you don’t weaken magnet strength. Strong magnets help tootiny souvenir magnets will struggle.
Add a chalk ledge
A simple wood picture ledge or thin shelf at the bottom holds chalk, erasers, and that one marker that always disappears.
Bonus: It visually “finishes” the wall and makes it feel intentional, not like you stopped painting halfway through a remodel.
Turn it into a calendar, menu board, or habit tracker
Use painter’s tape to create a grid (calendar squares, weekly meal plan, chore chart), then remove the tape once dry.
Want extra crisp lines? Use a ruler and a light pencil mark to place tape accurately. Your future self will thank you.
Maintenance and Cleaning (Without Destroying the Finish)
Everyday erase
For daily use, a dry felt eraser or microfiber cloth works great.
If chalk dust is building up, wipe gentlyaggressive scrubbing can polish the surface in spots and make it write unevenly.
Deeper clean
Many manufacturers suggest waiting about 7 days before using a damp cloth on a newly painted chalkboard finish.
For routine cleaning after that, use a lightly damp cloth and dry the wall afterward.
After a wet wipe-down, it’s smart to re-season (a quick chalk rub and erase) to keep erasability consistent.
Troubleshooting: Fix the Stuff That Drives People Nuts
Problem: The wall looks streaky or patchy
- Cause: uneven coats, over-rolling, or skipping primer on a porous surface.
- Fix: light sand, wipe clean, apply another thin coat. Consider priming next time if the wall is patched or raw.
Problem: Chalk won’t erase cleanly (ghosting)
- Cause: writing before full cure or skipping seasoning.
- Fix: clean gently, let it fully dry, then re-season. For stubborn ghosting, a damp wipe and re-season often helps.
Problem: The texture feels rough and writing looks messy
- Cause: wall texture, roller nap too thick, or paint bubbles.
- Fix: sand smoother and switch to a foam roller. If the wall is heavily textured, consider skim coating or painting a smooth panel instead.
Problem: Paint peels when you remove tape
- Cause: tape removed too late, or paint didn’t adhere well (dirty/glossy surface).
- Fix: score along the tape edge with a utility knife before pulling; improve prep (clean + scuff-sand + prime) next time.
Design Ideas That Look Intentional (Not “Accidental Blackboard”)
- Kitchen command wall: grocery list, weekly menu, “use the leftovers” reminders.
- Kids’ creativity zone: a dedicated doodle wall that saves your other walls’ dignity.
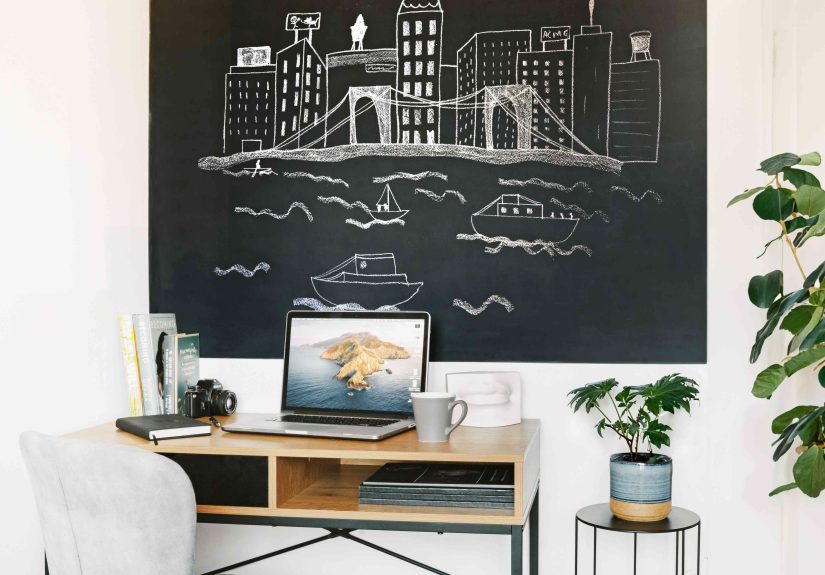
- Home office brainstorm space: mind maps, project planning, quick math that feels more official in chalk.
- Entryway message center: schedules, reminders, and a place to write “KEYS?” in giant letters.
- Party wall: drink menu, photo backdrop doodles, or guest messages.
Real-World Experiences ( of “What People Learn the Hard Way”)
The most common “chalkboard wall experience” is this: someone paints it, waits overnight, gets excited, writes a big message,
then realizes the wall is now permanently haunted by “WELCOME!” in faint chalk shadows. It’s not a curseit’s chemistry.
Chalkboard finishes need time to cure, and most folks underestimate the difference between “dry” and “ready.”
When people actually wait the full cure time and season the wall, the difference is dramatic: smoother writing, cleaner erasing,
and far less ghosting.
Another big lesson is that smooth walls win. People who paint over heavy orange peel texture usually report the same thing:
the wall is fun, but writing looks like it’s been filtered through a mountain range. That’s why the “best experiences”
often come from either smoothing the drywall (patch + sand, or skim coat) or painting a mounted panel.
The time spent flattening the surface is the time you get back later by not fighting your chalk every single day.
Families also tend to discover that chalkboard walls are at their best when they have a system.
Without one, the wall becomes a rotating museum of half-erased doodles and mysterious numbers.
With one, it becomes a true command center: a “Today” area, a “This Week” area, and a “Brain Dump” corner.
A simple taped grid (calendar or weekly planner) is a game changer because it creates boundaries.
And boundaries, it turns out, are great for both toddlers and adults who buy too many groceries.
People who go for a magnetic chalkboard wall often say the magnetic primer step is the most “surprisingly fussy” part.
The primer has to be mixed constantly because the magnetic particles settle fast.
If you apply it like regular primer without stirring, you can end up with spots that barely hold a magnet.
The best real-world tip here: use stronger magnets than you think you need, and don’t bury the magnetic primer under a thick
stack of topcoats. That wall can absolutely hold papers and photosjust treat magnet strength like a limited resource,
not an infinite superpower.
Finally, there’s the cleaning learning curve. Many people instinctively grab a wet sponge and scrub like they’re rescuing
the wall from a crime scene. The result: smeared chalk film and a surface that looks gray instead of deep black.
A better routine is gentle: dry erase daily, lightly damp cloth only when needed, then re-season if the wall starts to feel less erasable.
Once people dial in that rhythm, they usually say the chalkboard wall becomes one of the most-used “features” in the room
and the only wall in the house that practically begs to be written on.