Table of Contents >> Show >> Hide
- Before You Start: Know Your Seat Material (It Matters More Than You Think)
- What You’ll Need
- The 8-Step Method to Remove Chewing Gum from a Car Seat
- Step 1: Don’t PanicAnd Don’t Rub
- Step 2: Freeze the Gum Until It Turns Brittle
- Step 3: Lift the Gum with a Plastic Edge (Slowly)
- Step 4: Repeat the Freeze-and-Lift Cycle for Stubborn Bits
- Step 5: Break Down the Residue the Right Way (Based on Material)
- Step 6: Clean the Area Like You’re Erasing Evidence (Without Erasing the Seat)
- Step 7: Rinse, Blot, and Dry Thoroughly
- Step 8: Finish StrongDeodorize and Protect
- Quick “Choose Your Path” Troubleshooting
- Common Mistakes That Make Gum Removal Harder
- When It’s Worth Calling a Pro Detailer
- Prevention Tips (So This Becomes a Funny Story, Not a Monthly Routine)
- Real-World Experiences: What Actually Happens (and What Actually Works)
- Final Thoughts
Chewing gum has one superpower: it can go from “harmless minty snack” to “industrial-strength upholstery adhesive”
in the time it takes to say, “Who left this in the back seat?” The good news: you don’t need a hazmat suit or a
full car-detailing crew to fix it. You just need the right order of operationsbecause with gum, the biggest mistake
is turning a small blob into a fuzzy, smeared, seat-sized problem.
This guide walks you through a safe, practical method to remove chewing gum from a car seatwhether
you’re dealing with cloth upholstery, leather, or vinyl. We’ll start with the simplest science trick (cold!) and finish
with the kind of cleanup that leaves your seat looking like the gum never happened. Almost.
Before You Start: Know Your Seat Material (It Matters More Than You Think)
The best way to remove gum from car upholstery depends on what the seat is made of. The “freeze and lift” approach
works on basically everything, but your cleanup step changes based on material.
Cloth / Fabric Seats
Cloth is forgivingbut it’s also porous, which means gum can push into fibers if you rub too hard. Your strategy:
harden the gum, lift it off in pieces, then gently break down the residue and wash the spot.
Leather Seats (Including “Leatherette” and Coated Leather)
Leather is easier to “chip clean” because gum can sit on the surface. But leather also hates harsh solvents and
aggressive scraping. Your strategy: freeze, lift with a plastic edge, then clean with leather-safe products and
condition afterward.
Vinyl Seats
Vinyl is usually the easiest: freeze, lift, then clean with mild soap and water. Avoid super-hot water and harsh
chemicals that can dull or discolor the finish.
What You’ll Need
- Ice cubes in a zip-top bag or a gel ice pack
- Clean microfiber cloths (or soft cotton cloths)
- Plastic scraper, old gift card, or a plastic spoon
- Mild dish soap + warm water
- Rubbing alcohol (isopropyl alcohol) for fabric residue (optional but helpful)
- Upholstery cleaner (for cloth seats) or leather cleaner + conditioner (for leather seats)
- Optional: a small soft-bristle brush (like an old toothbrush) for fabric only
Safety note: Work in a ventilated area, don’t mix cleaning chemicals, and test any product on a hidden
spot first (like the back seam or under the seat edge). Your future self will appreciate it.
The 8-Step Method to Remove Chewing Gum from a Car Seat
Step 1: Don’t PanicAnd Don’t Rub
Your first instinct might be to “wipe it off.” Resist. Rubbing warms gum up and pushes it deeper into fabric fibers
or into leather grain and stitching. Instead, take 10 seconds to assess:
- Is it fresh and soft or old and hardened?
- Is it on cloth, leather, or vinyl?
- Is it near seams, perforations, or seat controls?
If the gum is on a seam or perforated leather, go extra gentlethose are the spots where damage happens fastest.
Step 2: Freeze the Gum Until It Turns Brittle
Put ice cubes in a zip-top bag (so you don’t soak the seat) and press it against the gum for 5–10 minutes.
Your goal is to make the gum hard and crumbly, not just “kinda chilly.”
Pro tip: If the gum is thick, hold the ice in place longer. If the bag starts sweating, wipe moisture away so you
don’t waterlog fabric.
Step 3: Lift the Gum with a Plastic Edge (Slowly)
Once frozen, use a plastic scraper, an old gift card, or a plastic spoon to lift the gum from the edge.
Keep the tool nearly flat to the surface and work in small moves.
- Cloth seats: Lift upward so you don’t mash gum into fibers.
- Leather/vinyl: “Pop” it off gentlyno digging.
Avoid metal knives or razor blades. They’re great at removing gum… and also great at removing upholstery.
Step 4: Repeat the Freeze-and-Lift Cycle for Stubborn Bits
Gum often comes off in layers. If you still see sticky pieces:
- Reapply the ice bag for a few minutes.
- Lift again with the plastic edge.
- Stop once you’ve removed as much solid gum as possible.
This step feels slow, but it prevents the “sticky smear zone,” which is where most people accidentally make the mess bigger.
Step 5: Break Down the Residue the Right Way (Based on Material)
After the bulk gum is gone, you’ll likely have a tacky spot. This is where you choose your weapon wisely.
For cloth/fabric seats:
-
Dampen a cloth with a small amount of rubbing alcohol and gently blot the sticky area. Don’t pour it
directly onto the seat. Blot, lift, and rotate to a clean section of cloth as residue transfers. -
If you prefer a commercial option, use a small amount of an adhesive remover on a cloth and blot
(never soak), then plan to wash the area afterward.
For leather seats:
-
Skip strong solvents. Instead, use a leather-safe cleaner on a microfiber cloth and gently wipe the residue.
If a faint sticky film remains, repeat with light pressure rather than escalating to harsh chemicals.
For vinyl seats:
- Use mild dish soap + warm water on a cloth, wipe gently, then rinse with a clean damp cloth.
If you’re not sure what your seat finish can tolerate, the safest play is: cold + plastic lift + mild cleaner.
It’s slower, but it’s far less likely to leave a permanent “I tried” mark.
Step 6: Clean the Area Like You’re Erasing Evidence (Without Erasing the Seat)
Now that the gum and residue are gone, clean the spot so it doesn’t attract dirt later.
Cloth seats: Mix a few drops of dish soap into warm water. Dip a cloth, wring it well, and blot the area.
If needed, use an upholstery cleaner per the label. A soft brush can help on durable fabricuse a light touch.
Leather seats: Wipe with leather cleaner, then buff dry with a clean microfiber cloth.
Vinyl seats: Wipe with soapy water, then a clean damp cloth to remove soap film.
Step 7: Rinse, Blot, and Dry Thoroughly
Residue from soap or cleaners can cause re-soiling (translation: the spot gets dirty faster). Use a clean cloth dampened
with plain water to wipe or blot away leftover cleanerespecially on cloth seats.
- Blot with a dry towel to remove moisture.
- Let the seat air-dry with doors open if possible.
- A fan helps. A hair dryer on hot does not (heat can set stains and damage finishes).
Step 8: Finish StrongDeodorize and Protect
If gum sat there for a while, you might notice lingering odor or a slightly “grabby” feel.
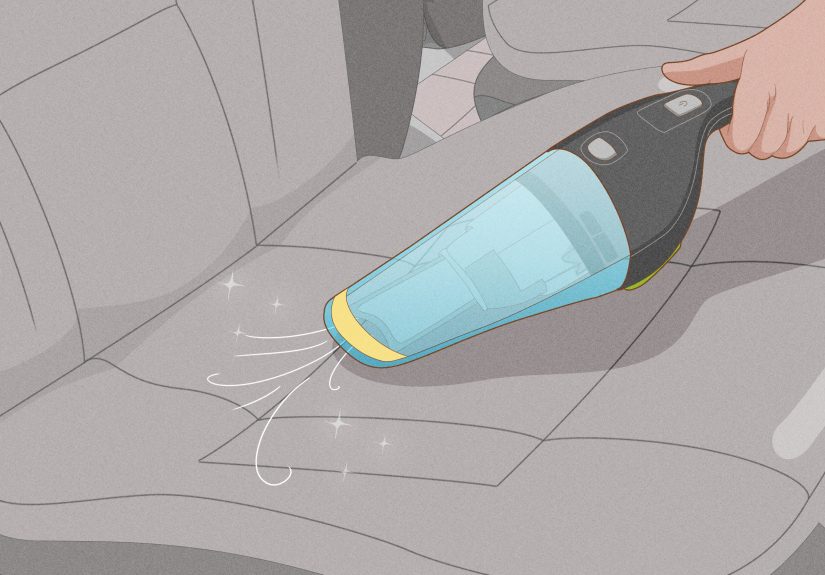
- Cloth: Lightly sprinkle baking soda once dry, let it sit 15–30 minutes, then vacuum.
- Leather: Apply a small amount of leather conditioner after cleaning (follow product directions) to restore softness.
- Vinyl: Wipe dry and, if you like, use a vinyl protectant designed for car interiors.
Congratulations: you have successfully defeated gum without starting a feud with your upholstery.
Quick “Choose Your Path” Troubleshooting
If the Gum Is Melted (Hello, Summer Parking Lot)
Melted gum is stickier and spreads faster. Your move is still coldice pack firstthen lift in layers. Avoid heat-based
hacks inside a car because softening gum can turn it into a wider stain, especially on fabric.
If the Gum Is in Cloth Fibers
Focus on multiple freeze-and-lift rounds and patient blotting with rubbing alcohol on a cloth. Scrubbing aggressively is
how you create a fuzzy “halo” around the spot.
If the Gum Is in Perforated Leather
Freeze thoroughly and lift gently. If tiny bits remain in holes, don’t dig with a pin. Use a leather-safe cleaner and a
microfiber cloth, and consider a professional detailer if the gum is really packed in.
Common Mistakes That Make Gum Removal Harder
- Rubbing immediately: warms gum and drives it deeper.
- Using sharp tools: nicks leather, slices fabric, and creates “new problems.”
- Over-soaking cloth seats: can leave water rings or even encourage mildew if it can’t dry fast.
- Using harsh solvents on leather/vinyl: can strip coatings, fade color, or dull the finish.
- Skipping the final rinse: leftover cleaner attracts grime, making the area look dirty again quickly.
When It’s Worth Calling a Pro Detailer
Most gum situations are DIY-friendly, but consider professional help if:
- The gum is deeply embedded in perforated leather or heavy fabric weave.
- It’s spread across a large area and you’re worried about discoloration.
- The seat has sensitive features nearby (ventilated/heated seat components, stitched piping you don’t want to snag).
- You’re working on a child safety seat with straps and padding where soaking or chemicals could be risky.
Prevention Tips (So This Becomes a Funny Story, Not a Monthly Routine)
- Keep a small car trash bin or resealable bag in the back seat area.
- Establish the household rule: “Gum wrappers go in the bin, not the seat.”
- Do a 10-second back-seat scan before you lock upespecially after carpools and snack runs.
Real-World Experiences: What Actually Happens (and What Actually Works)
The first time you deal with gum on a car seat, it’s usually not during a calm, well-lit Saturday morning when you’re
emotionally prepared for upholstery chemistry. It’s more like: you open the door, see a shiny blob, and instantly
hear a tiny internal alarm siren. I’ve seen gum disasters happen in three classic ways.
Scenario #1: Fresh gum on cloth after a school pickup. The gum is soft, warm, and pretending it’s one with
the seat fabric. The temptation is to “just peel it off.” That’s how you get strings, smears, and a bigger mess.
The best result comes from doing the least dramatic thing first: grab ice, bag it, press it in place, and wait.
Once it turns brittle, it stops acting like glue and starts acting like something you can lift. The moment you hear
the tiny “crack” as the edge breaks free is oddly satisfyinglike winning a very small, very sticky battle.
Scenario #2: Gum that sat in the heat. Hot cars are basically gum’s dream spa. Melted gum can flatten out,
soak into fibers, and pick up lint like it’s collecting souvenirs. In this case, freezing isn’t optionalit’s the whole
plan. A gel pack can work better than loose ice because it stays cold longer and doesn’t drip. The key lesson: don’t
try to remove it all in one heroic scrape. You remove the top layer, re-freeze, remove the next layer, and keep going
until it’s mostly gone. Then you deal with the tackiness using blottingnot scrubbingwith a small amount of rubbing
alcohol on a cloth. Think “lift and transfer,” not “rub and spread.”
Scenario #3: Gum on leather. This is the one that looks terrifying but is often the easiest if you stay gentle.
Gum on leather tends to sit on the surface. Freeze it well, use a plastic card edge, and it often pops off cleanly.
The only time it gets tricky is when gum sneaks into seams or perforations. That’s where patience matters: you can
repeat freeze-and-lift, then use a leather-safe cleaner to pick up the last faint film. Afterward, conditioning the
leather makes the whole seat look uniform again, which is useful if you’re trying to avoid the “this spot looks different
now” effect.
Across all three situations, the most consistent takeaway is simple: cold first, gentle lifting second, cleaning last.
When people get frustrated, they escalate to stronger chemicals or sharper toolsand that’s when upholstery gets damaged.
When people slow down and repeat the freeze step, the gum usually loses the fight without taking the seat with it.
Final Thoughts
Removing chewing gum from a car seat isn’t glamorous, but it’s absolutely doable. Start with ice, use a plastic edge,
and only then move to mild cleaners or careful residue removal. Whether you’re cleaning cloth upholstery or getting gum
off leather car seats, the formula stays the same: harden it, lift it, clean it, dry it, and protect the finish.