Table of Contents >> Show >> Hide
If you’ve ever come across a piece of furniture that’s been banished to the back of your basement or a thrift store because of its outdated, orange-tinted finish, you may have found yourself staring down a “Naughty Pine” buffet. While this type of wood may be infamous for its bright, almost too-perfectly rustic look, it’s also the perfect candidate for a DIY refinishing project that will completely transform your space. So, what’s the deal with Naughty Pine, and how can you breathe new life into an old buffet? Let’s dive into this fun, rewarding project!
What Is Naughty Pine and Why Does It Need Refinishing?
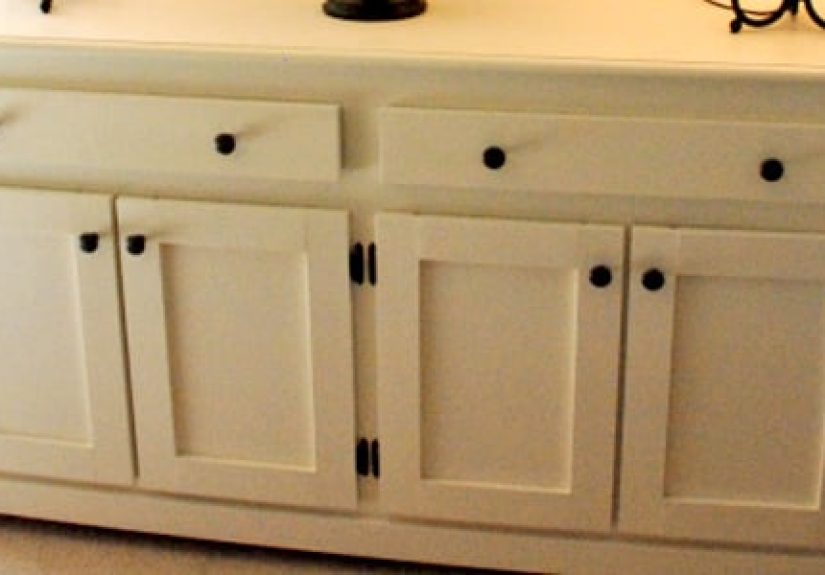
“Naughty Pine” refers to a specific type of pinewood that was popular in furniture design during the 1970s and 1980s. Its bright, orangey finishoften achieved with lacquer or a synthetic wood stainhas earned it a somewhat notorious reputation. While this color was once on-trend, it doesn’t hold up in the modern design world, often clashing with contemporary styles.
However, Naughty Pine’s solid structure and durability make it a great candidate for a refinishing project. When you strip away the dated finish and update it with a more neutral stain or a fresh paint color, you unlock its full potential. Plus, refinishing offers an opportunity to preserve the character of the wood while modernizing its appearance.
Tools and Materials You’ll Need for Refinishing a Naughty Pine Buffet
Before you start, gather the following tools and materials:
- Sandpaper (various grits, ranging from coarse to fine)
- Orbital sander (optional, but speeds up the process)
- Wood stripper or mineral spirits (for removing old finish)
- Paintbrushes (high-quality for smooth application)
- Wood stain (or paint, depending on your preference)
- Polyurethane (for sealing the wood and ensuring durability)
- Cleaning supplies (tack cloths, gloves, etc.)
Step-by-Step Guide to Refinishing Your Naughty Pine Buffet
Step 1: Preparation
Start by thoroughly cleaning the buffet to remove dust, dirt, and grime. Use a gentle cleaner and dry it with a soft cloth. This ensures you’re working with a clean surface before you begin sanding or stripping.
Next, remove any hardware (handles, knobs, or hinges) to avoid damage during the refinishing process. If the buffet has any glass shelves or inserts, remove these as well.
Step 2: Stripping the Old Finish
If you’re working with an existing lacquer or paint finish, the first step is to strip it away. You can use a commercial wood stripper, which you apply generously to the surface. Let it sit according to the manufacturer’s instructions, and then use a scraper to remove the old finish. If you’re looking for a more eco-friendly approach, mineral spirits can be used to soften the finish, making it easier to wipe away.
Always wear gloves and work in a well-ventilated area when using chemicals. Once the majority of the old finish has been removed, clean the surface with a damp cloth and allow it to dry completely before moving to the next step.
Step 3: Sanding the Wood
Next, it’s time to sand the wood to smooth out any imperfections left by the stripper and prepare the surface for the new stain or paint. Start with a coarser sandpaper (around 80 grit) to remove any remaining finish. Then, move on to finer grits (120 to 220 grit) for a smooth and even surface.
If you’re working with a lot of surface area, consider using an orbital sander to make the process faster and more efficient. After sanding, wipe the buffet down with a tack cloth to remove any remaining dust and debris.
Step 4: Applying the Stain or Paint
Now comes the fun partchoosing your finish! If you want to embrace the natural beauty of the wood, opt for a wood stain. There are many shades to choose from, ranging from rich mahogany to light walnut. Apply the stain with a clean brush or cloth, working in the direction of the wood grain. Allow the stain to sit for a few minutes, then wipe off the excess for a smooth, even finish.
If you prefer a more contemporary look, you can paint the buffet instead. Choose a high-quality paint in a color that complements your room’s decor. For a modern, chic vibe, consider shades like matte black, charcoal, or even a soft gray. Apply a primer first to help the paint adhere better and then apply two coats of paint, allowing each layer to dry completely before applying the next.
Step 5: Sealing the Wood
After your stain or paint has dried completely, it’s time to seal your work. Use a polyurethane finish for a durable, long-lasting result. Polyurethane comes in both matte and glossy finishes, so choose one based on the aesthetic you’re going for. Apply the polyurethane with a brush, following the wood grain, and allow it to dry. You may want to apply multiple coats for added protection.
Step 6: Reassembly and Hardware Installation
Once the polyurethane has dried, it’s time to reassemble the buffet. Reattach any hardware you removed earlier and make sure everything is secured tightly. If you want to update the look even further, consider replacing the old knobs or handles with something more modern, like brushed nickel or matte black pulls.
Tips for Maintaining Your Refurbished Buffet
Once your Naughty Pine buffet has been refinished, you’ll want to keep it looking great for years to come. Here are some tips for maintenance:
- Wipe the surface regularly with a soft cloth to remove dust and debris.
- Avoid placing hot items directly on the surface, as it can damage the finish.
- If you spill liquid on the surface, clean it up immediately to avoid stains.
- Consider applying a fresh coat of polyurethane every couple of years to keep the finish looking fresh.
Experience: Naughty Pine Buffet Transformation
I recently took on a Naughty Pine buffet as part of a larger living room refresh, and I couldn’t be happier with the results. The buffet was a hand-me-down from my grandmother and had all the charm of the 1970s, but it was just too… orange. The transformation was pretty straightforward, but what really surprised me was how much more versatile the piece became once the finish was updated. The rich wood tones now complement my modern decor, and the once-dated piece feels fresh and relevant again.
One thing I learned the hard way: sanding takes time. I had expected the process to be quicker, but once I started, I quickly realized that patience is key. The rewards, though, were so worth it. The buffet now serves as both a functional storage piece and a stylish focal point in the room. Plus, I saved a lot of money compared to buying a new piece of furniture.
If you’re thinking about tackling a similar project, don’t rush it. Enjoy the process! Whether you’re refacing the buffet with paint or bringing out the wood’s natural beauty with a stain, the refinishing journey is incredibly satisfying. You’ll learn a lot along the way, and you’ll be amazed at how something as simple as a coat of stain can completely change the look of a piece of furniture. The Naughty Pine buffet is proof that sometimes, the right finish can give even the most “naughty” pieces a second life.
Conclusion
Refinishing a Naughty Pine buffet is a fun and rewarding project that can completely transform your space. With a little time, effort, and the right tools, you can turn an outdated piece of furniture into a modern masterpiece. Whether you choose to stain or paint, the results are sure to impress. So, grab your sander and get ready to breathe new life into that old pieceyou’ll be glad you did!
sapo: Ready to tackle a Naughty Pine buffet refinishing project? Our guide walks you through the steps to transform your outdated piece into a stunning focal point with minimal effort!