
Table of Contents >> Show >> Hide
- What Is a Regular Pentagon?
- Tools You Need Before You Start
- How to Construct a Regular Pentagon in 8 Steps
- Why This Pentagon Construction Works
- Common Mistakes to Avoid
- Practical Tips for a Cleaner Construction
- Where This Skill Is Useful
- Final Thoughts
- Experience and Practical Observations from Constructing a Regular Pentagon
If you have ever stared at a regular pentagon and thought, “That looks suspiciously too perfect to draw by hand,” welcome to the club. The good news is that this five-sided beauty is not magic, even if it sometimes behaves like it has a secret deal with the universe. With a compass, a straightedge, and a little patience, you can construct a regular pentagon the classic way. No protractor required. No guessing. No squinting at a sketch and declaring, “Close enough.”
This guide walks through how to construct a regular pentagon in 8 steps using a traditional compass-and-straightedge method. Along the way, you will also learn why the method works, what mistakes to avoid, and why pentagons keep showing up in geometry conversations like they own the place. Spoiler alert: the golden ratio is lurking nearby, wearing a fancy mathematical cape.
Note: This article is written as body-only HTML for web publishing and contains no placeholder citation artifacts or unnecessary markup.
What Is a Regular Pentagon?
A pentagon is any polygon with five sides. A regular pentagon is the polished, symmetrical version: all five sides are equal, and all five interior angles are equal too. Each interior angle measures 108 degrees, and each central angle measures 72 degrees. In other words, it is the geometry equivalent of a perfectly organized desk drawer. Rare, elegant, and deeply satisfying.
Regular pentagons matter in geometry because they connect clean construction techniques, symmetry, circles, and the golden ratio. They also appear in architecture, design, tiling discussions, and the study of more complex shapes such as the dodecahedron. So yes, drawing one is a fun exercise, but it is also a doorway into deeper math.
Tools You Need Before You Start
Before you begin this regular pentagon construction, gather the essentials:
- A compass
- A straightedge or ruler without measurement markings being used for measuring
- A pencil with a decent point
- Paper with enough room for a full circle and a few helper lines
If your compass wobbles like it drank three espressos, tighten it first. Precision matters here. A tiny slip early on can turn your elegant pentagon into a slightly confused house shape.
How to Construct a Regular Pentagon in 8 Steps
Step 1: Draw a Circle and Mark the Center
Start by drawing a circle with your compass. Mark its center as O. This circle will be the home for your pentagon, with all five vertices sitting on the circumference. Think of the circle as the stage and the pentagon as the very symmetrical performer about to make an entrance.
Choose a radius that gives you enough room to work comfortably. Bigger is usually easier because tiny constructions can become fiddly fast.
Step 2: Draw a Horizontal Diameter
Using your straightedge, draw a line straight through the center O so it touches the circle on both sides. Label the left endpoint A and the right endpoint A’. You now have a horizontal diameter.
This line gives you a strong reference axis. It also sets up the exact construction that will eventually reveal the side length of the pentagon.
Step 3: Draw a Perpendicular Diameter
Construct a second diameter through O that is perpendicular to the first one. Label the top point B and the bottom point B’. Now your circle looks like it has a neat plus sign inside it, which is exactly what you want.
These two perpendicular diameters divide the circle into four equal quarters and create the framework for the next crucial move.
Step 4: Find the Midpoint of Segment OA’
Look at the segment from the center O to the right-hand endpoint A’. Construct its midpoint and label that point C. This midpoint is not random busywork. It is one of the secret ingredients in the classical construction.
If you are wondering why we use the right half of the diameter instead of the left, the short answer is: because this is the arrangement that makes the next arc land exactly where geometry wants it to land.
Step 5: Create the Key Arc
Set your compass width to the distance CB. With C as the center, draw an arc that crosses the horizontal diameter on the left side of the circle. Mark the intersection point on segment OA as D.
This is the clever part of the construction. The length from B to D is the exact chord length needed for the side of a regular pentagon inscribed in the circle. In plain English: geometry just handed you the magic side length.
Step 6: Draw the Segment BD
Use your straightedge to draw the segment BD. You do not need to connect it to the circle as part of the final pentagon. Right now, you are simply identifying the exact side length you will step around the circle.
This segment is your template. Keep your compass ready, because in the next step you will use this length like a repeatable stamp.
Step 7: Step Off the Side Length Around the Circle
Choose any point on the circle as your first pentagon vertex and call it P1. Set your compass to the length BD. Without changing that compass width, place the point of the compass on P1 and mark the next point on the circle as P2.
Repeat the process from P2 to mark P3, then from P3 to mark P4, and from P4 to mark P5. If everything has been constructed accurately, one more step should bring you right back to P1. When that happens, it feels a little like geometry applauding politely.
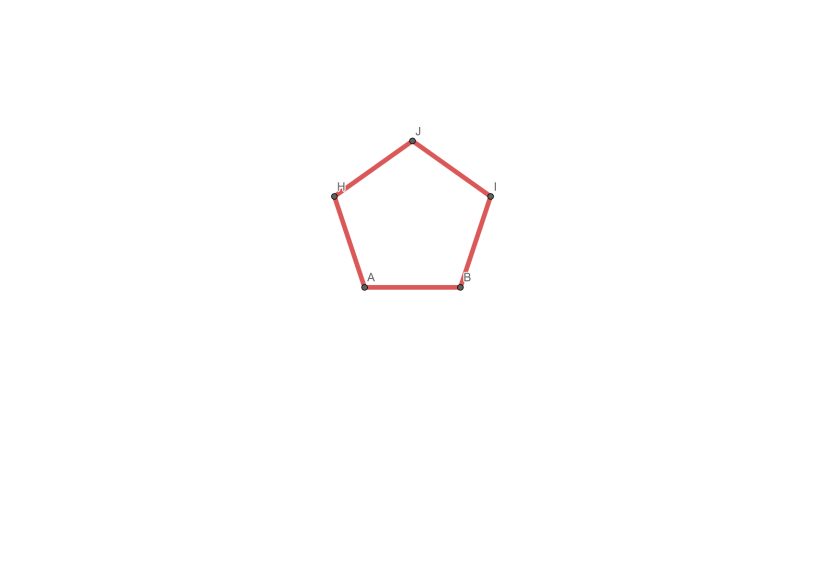
Step 8: Connect the Five Vertices
Use your straightedge to connect P1 to P2, P2 to P3, P3 to P4, P4 to P5, and P5 back to P1. Congratulations. You have just constructed a regular pentagon.
If the last side closes cleanly and the shape looks balanced, your construction worked. If it misses by a little, do not panic. That usually means one of the helper steps drifted slightly. Geometry is kind, but it is not forgiving about sloppy compass settings.
Why This Pentagon Construction Works
The beauty of this method is that it is not based on approximation. It is based on exact geometric relationships inside the circle. In a regular pentagon inscribed in a circle, the five equal sides are actually five equal chords of that circle. So the real task is not “draw five similar-looking sides.” The real task is “find the exact chord length that divides the circle into five equal parts.”
That is what the construction above does. By creating perpendicular diameters, locating the midpoint C, and drawing the arc from C through B to meet the horizontal line at D, you generate a special distance. The segment BD corresponds to the side length of an inscribed regular pentagon. Once you have that chord length, all that remains is to step it around the circle five times.
This method also hints at one of the pentagon’s most famous mathematical relationships: the golden ratio. In a regular pentagon, the ratio of a diagonal to a side is the golden ratio, often written as phi. That is one reason pentagons and pentagrams appear so often in discussions of proportion, symmetry, and classical geometry. The shape is not just pretty. It is mathematically dramatic.
Common Mistakes to Avoid
Changing the Compass Width by Accident
This is the classic troublemaker. Once you set the compass to BD, keep it locked. Even a tiny shift can ruin the stepping process around the circle.
Picking the Wrong Midpoint
You need the midpoint of OA’, not the midpoint of the full diameter AA’. Mixing those up changes the construction and sends the whole figure off course.
Using a Rough Perpendicular
The second diameter must be truly perpendicular to the first. Eyeballing it is brave, but this is not the moment for bravery. Construct it carefully.
Marking Vertices Off the Circle
Each new point must lie exactly on the circle. If your arc lands slightly inside or outside, the pentagon will not close properly.
Practical Tips for a Cleaner Construction
Use light lines for helper marks and darker lines for the final pentagon. That way, your drawing stays readable instead of turning into a graphite jungle. Work slowly on the midpoint and perpendicular steps, because those are the foundation of the whole figure. It also helps to label points clearly. Without labels, your paper can start looking like geometry dropped a bowl of alphabet soup.
If you are teaching students or learning on your own, construct the pentagon once for accuracy and a second time for confidence. The second attempt usually feels much easier, and you will notice patterns that seemed mysterious during the first run.
Where This Skill Is Useful
Knowing how to draw a pentagon accurately is useful in more places than you might expect. It shows up in geometry classes, drafting exercises, design planning, and mathematical art. It also strengthens your understanding of how circles, chords, angles, and symmetry interact. In an age of digital design software, manual construction still matters because it teaches the logic behind the shape rather than just the appearance of it.
For students, it builds precision and geometric reasoning. For artists and designers, it offers a reliable way to build star patterns, emblems, and radial layouts. For math enthusiasts, it is a satisfying reminder that a simple compass and straightedge can still pull off some very elegant tricks.
Final Thoughts
Constructing a regular pentagon is one of those classic geometry exercises that feels both ancient and oddly fresh. It combines simple tools with surprisingly rich mathematics. Once you understand the 8-step process, the shape stops being mysterious and starts feeling beautifully logical.
Better yet, this construction teaches a bigger lesson: many complicated-looking forms become manageable when you break them into exact, orderly steps. So the next time a regular pentagon appears in a textbook, a design sketch, or a puzzle, you will not have to admire it from a distance. You will know how to build it yourself, one precise move at a time.
Experience and Practical Observations from Constructing a Regular Pentagon
One of the most interesting experiences people have with this construction is realizing that the pentagon does not feel easy at first, even though the final shape looks calm and simple. A triangle often feels obvious. A square feels familiar. But a regular pentagon has just enough complexity to make the process memorable. The first attempt usually teaches patience. The second teaches trust in the method. By the third, the construction starts to feel almost rhythmic.
In classroom settings, students often begin with skepticism. They assume five equal sides must require measuring tools, angle formulas, or a protractor. Then the circle-based method starts unfolding, and the mood changes. The midpoint, the arc, and the segment BD seem ordinary by themselves, but together they produce something exact. That moment, when the last stepped chord lands back at the starting point, often gets the strongest reaction. It is the quiet geometry version of a plot twist.
Another common experience is discovering how much precision matters. A construction that is “almost right” usually looks fine at first glance, but the error reveals itself near the end. The final side may refuse to close, or the figure may look slightly stretched. That teaches an important lesson beyond pentagons: mathematical beauty depends on disciplined setup. A clean midpoint and a true perpendicular save a lot of frustration later.
Artists and designers often describe a different kind of satisfaction. For them, constructing a regular pentagon by hand feels less like solving a school exercise and more like building a framework for visual harmony. Once the pentagon is in place, it becomes the base for stars, rosettes, logos, mandala-style layouts, and decorative patterns. The construction is practical, but it also feels creative. It turns geometry into a design tool rather than a list of rules.
There is also a strangely reassuring experience that comes from doing the work without digital shortcuts. Drawing the circle, checking the compass width, and stepping the chord manually creates a stronger understanding of the shape than clicking “polygon tool” ever could. You begin to notice how the side length relates to the circle, how the symmetry develops, and how the structure emerges from a sequence of exact decisions. It is slower than software, but it is much more memorable.
People who revisit this construction later in life often say it feels different from how it felt in school. As a student, it may have seemed like just another diagram to copy. As an adult, it can feel elegant, even calming. There is a real pleasure in seeing a classical method still work perfectly centuries later. A compass and straightedge may be humble tools, but they carry a lot of mathematical authority.
Perhaps the best experience of all is the shift from confusion to confidence. At the start, the process can look like a collection of mysterious moves. By the end, each line has a purpose, each point has a role, and the regular pentagon feels fully understandable. That transformation is the real reward. You do not just end up with a five-sided figure on paper. You end up with a deeper sense of how geometry organizes space with logic, balance, and a little bit of flair.


