Table of Contents >> Show >> Hide
- What You Need
- Before You Start Folding
- How to Make an Origami Jumping Frog Step by Step
- Step 1: Start with a square sheet
- Step 2: Fold it in half vertically
- Step 3: Fold it in half horizontally again
- Step 4: Make diagonal guide creases
- Step 5: Turn the paper over
- Step 6: Collapse the top section
- Step 7: Fold down the front legs
- Step 8: Rotate the model
- Step 9: Fold the bottom edge upward
- Step 10: Fold the sides inward
- Step 11: Fold the bottom section up
- Step 12: Create guide creases for the back legs
- Step 13: Open and shape the lower body
- Step 14: Fold down the side flaps
- Step 15: Form the back legs
- Step 16: Make the spring
- Step 17: Flip and finish
- Step 18: Make it jump
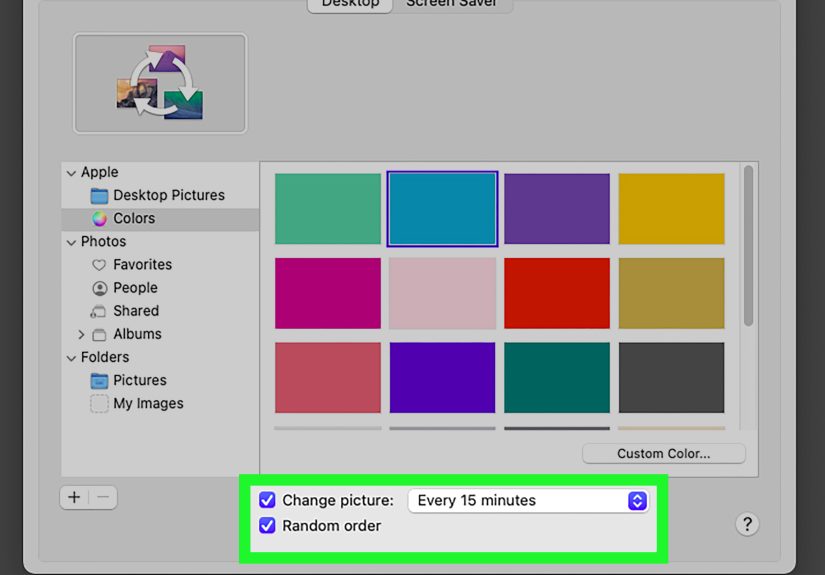
- How to Make Your Origami Frog Jump Higher
- Common Mistakes to Avoid
- Fun Ways to Use Your Origami Jumping Frog
- Why This Easy Origami Frog Is So Popular
- Extra Experience Section: What It’s Really Like to Make an Origami Jumping Frog
- Conclusion
If you have one square sheet of paper and about 10 minutes, you can make a tiny frog that does not eat flies, does not need a terrarium, and absolutely will launch itself off your table like it has somewhere important to be. That is the charm of the origami jumping frog: it is simple, fast, cheap, and weirdly satisfying.
This classic paper-folding project is popular for a reason. It is beginner-friendly, fun for kids and adults, and just advanced enough to make you feel clever without forcing you into a full paper-folding identity crisis. Better yet, once you finish one frog, you will almost certainly make three more. One will jump beautifully. One will jump sideways. One will look like it has seen things. That is all part of the experience.
In this guide, you will learn exactly how to make an origami jumping frog with easy instructions, plus tips to help it hop higher, common mistakes to avoid, and fun ways to turn your finished frog into a mini game. Whether you are folding with kids, teaching a classroom craft, or just procrastinating in a surprisingly elegant way, this tutorial has you covered.
What You Need
- 1 square sheet of paper
- A flat surface for folding
- Your fingers, your patience, and maybe a sense of humor
Thin origami paper works best because it folds neatly and gives the frog a better spring. A 6-by-6-inch square is a great starting size for most beginners. If you are folding with younger children, you can go a little larger to make the creases easier to see. Green paper is the obvious frog choice, but honestly, a neon pink frog has confidence, and we support that.
If you do not have square paper, you can make your own by folding one corner of a rectangular sheet diagonally to form a triangle and trimming off the extra strip. You can also try a rectangular index card for a sturdier variation, but square origami paper is usually easier for first-timers.
Before You Start Folding
A good origami jumping frog depends on crisp creases and decent symmetry. You do not need perfection, but you do want to line up edges as carefully as you can. If one side drifts off, your frog may still jump, but it might do so in a dramatic and deeply personal direction.
Press each fold firmly with your fingertip or thumbnail. Work slowly through the first frog. After that, your hands will remember more than your brain does, which is one of the strangely magical things about origami.
How to Make an Origami Jumping Frog Step by Step
Step 1: Start with a square sheet
Place your square paper in front of you. If it has a colored side and a white side, begin with the white side facing up. Fold the paper in half horizontally, then unfold it. You should now have one crease across the middle.
Step 2: Fold it in half vertically
Bring the left side over to the right side and crease it. Keep the fold clean and sharp. Do not unfold yet.
Step 3: Fold it in half horizontally again
With the paper still in its folded position, fold it in half horizontally once more, then unfold that last fold. This helps build the structure you need for the frog’s top section.
Step 4: Make diagonal guide creases
Fold the lower right edge up to the horizontal center line, then unfold it. Repeat on the lower left edge and unfold again. These diagonal creases matter more than they may seem right now, so give them a good press.
Step 5: Turn the paper over
Flip the paper. Fold the bottom edge up to the horizontal center crease and then unfold it. You are basically laying down a road map for the frog’s body.
Step 6: Collapse the top section
This is the part that makes beginners squint at the paper and say, “Excuse me?” Gently push the sides inward while bringing the bottom edge up along the existing crease. The paper should collapse into a triangular top section. Flatten it carefully. Once it clicks, it really clicks.
Step 7: Fold down the front legs
Take the top flaps of the triangle and fold them downward to create the frog’s front legs. There is no dramatic secret here. Just try to make both sides look even.
Step 8: Rotate the model
Turn the paper 180 degrees so the point faces toward you. Now you are working on the frog’s middle and back legs.
Step 9: Fold the bottom edge upward
Bring the bottom edge up to the nearest horizontal crease line. Crease firmly. This begins narrowing the body into that recognizable frog shape.
Step 10: Fold the sides inward
Fold the left and right edges toward the vertical center line. Try to keep the folds symmetrical. If the front legs get in the way, lift them slightly while folding.
Step 11: Fold the bottom section up
Now fold the bottom edge upward until it meets the point where the front legs connect. This creates the lower portion of the frog’s body.
Step 12: Create guide creases for the back legs
Fold the left and right edges of the top flap down toward the bottom edge, then unfold them. You are not done with those folds yet. You are just setting up the next move.
Step 13: Open and shape the lower body
Unfold the flap from the previous step. Then lift the lower flaps and push the bottom edge upward so the paper opens and spreads slightly outward on both sides. It should begin to look more frog-like and less like abstract office paperwork.
Step 14: Fold down the side flaps
Use the creases you just made to fold the side flaps downward. These become part of the frog’s back leg structure.
Step 15: Form the back legs
Fold the inner edges of those bottom flaps inward along the nearest crease lines. You should now see the frog’s back legs taking shape. This is the moment when the project goes from “paper geometry” to “oh wow, that is definitely a frog.”
Step 16: Make the spring
Fold the bottom section upward along the line where the front and back legs meet. Then fold the top flap in half from top to bottom. This layered fold is the spring mechanism that makes the frog jump.
Step 17: Flip and finish
Turn the model over and gently pull out the back legs so they sit nicely. If you want, draw on eyes or add tiny details. Congratulations. You now have an origami jumping frog.
Step 18: Make it jump
Place the frog on a smooth, flat surface. Press down lightly on its back end with your finger, then slide your finger off quickly. If your frog leaps into action, you nailed it. If it merely twitches like it is reconsidering its life choices, do not worry. A few crease adjustments usually help.
How to Make Your Origami Frog Jump Higher
Once your frog exists, the natural next question is not “Should I make another one?” It is “How far can this thing fly?” Here are the best ways to improve its jump:
Use thinner paper
Thin origami paper creates cleaner folds and a better spring. Thick paper can still work, but it tends to feel bulky in the final layers.
Sharpen every crease
The spring fold at the bottom matters most. If that fold is soft or uneven, your frog will not get much lift.
Adjust the back legs
If the legs are too flat, the frog may drag. If they are shaped cleanly and sit evenly, the jump is usually stronger.
Try a smooth surface
Tables, countertops, and hardwood floors tend to work better than carpet or textured fabric. Carpet is basically the sworn enemy of frog athletics.
Test your finger motion
Do not mash the frog downward like you are punishing it for being made of paper. Press and flick off quickly. The motion should be light and fast.
Common Mistakes to Avoid
Starting with paper that is not square
If your paper is even slightly off, the folds can drift, and the finished frog may look lopsided.
Rushing the collapse fold
The early collapse step shapes the whole top half. Take your time there. It is the foundation for everything that follows.
Ignoring symmetry
If one leg is much larger than the other, your frog may twist instead of jump. That can still be entertaining, but it is not the goal.
Weak spring fold
The final folded-back section is what gives the frog bounce. If that fold is loose, the frog will be more decorative than athletic.
Fun Ways to Use Your Origami Jumping Frog
Once you have made one, it is easy to turn this into a full activity instead of a one-and-done craft.
- Host an origami frog jumping contest
- Make frogs in different colors and sizes
- Set up a finish line and race them across a table
- Decorate them with eyes, spots, crowns, or tiny paper tongues
- Use them in classrooms for craft time, sequencing practice, or simple geometry discussion
This is one of those projects that works especially well in groups because the folding is engaging, and the finished result turns into a game almost immediately.
Why This Easy Origami Frog Is So Popular
The origami jumping frog sits in that sweet spot between craft and toy. You are not just making something cute. You are making something cute that absolutely refuses to stay still. That extra bit of movement is what makes it memorable.
It is also a great beginner origami project because it teaches several useful skills at once: how to follow steps in order, how to make precise creases, how symmetry affects the final result, and how one flat square can turn into a three-dimensional object with a function. In other words, it is not just fun. It is sneaky-smart fun.
Extra Experience Section: What It’s Really Like to Make an Origami Jumping Frog
Making an origami jumping frog is one of those rare crafts that feels entertaining at every stage. First, there is the optimistic beginning, where the paper is flat, perfect, and full of promise. Then comes the middle, where the folds pile up and you briefly suspect you are creating a geometric sandwich instead of a frog. Then, suddenly, the shape appears. You fold the legs, add the spring, flip it over, and there it is: a tiny paper frog with a suspicious amount of personality.
For kids, the experience usually includes a lot of excitement, at least one upside-down fold, and immediate demands for a race. They tend to care less about perfection and more about whether the frog can launch itself across the table before anyone else’s can. Honestly, that is a solid life philosophy. For adults, the experience is a little different. There is usually a brief phase of trying to be extremely precise, followed by a second phase of muttering, “Why is this fold suddenly so thick?” and a final phase of feeling weirdly proud when the frog actually jumps.
In classrooms, libraries, and family craft sessions, the origami jumping frog works beautifully because it gives people a payoff right away. You do not spend 30 minutes making something that will sit politely on a shelf and gather dust. You make something that becomes a toy the moment it is finished. That keeps the energy high and makes the folding process feel worth it, even for beginners who are still figuring out mountain folds, valley folds, and the general emotional complexity of paper corners.
It is also a surprisingly good activity for slowing down. Folding paper requires attention. You have to line things up, press creases carefully, and notice small details. That kind of focus can feel calming, even when the frog ends up looking a little wonky. In fact, the wonky frogs often become the favorites. They jump sideways. They flip. They fail in spectacular fashion. Then someone tweaks one fold and suddenly the frog turns into an Olympic champion. There is a tiny lesson in that: small adjustments matter.
Another fun part of the experience is experimentation. After making one successful frog, most people immediately want to test variations. What happens with bigger paper? Smaller paper? Thinner paper? A patterned sheet? A bright blue frog with giant cartoon eyes? Before long, the table is covered with amphibian chaos, and no one is mad about it. You can even rank your frogs by jump style: strongest launch, best landing, funniest flop, most dramatic spin.
And that is really why this project sticks with people. It is not just an easy paper craft. It creates a tiny moment of delight. You fold a simple square, make a few clever creases, and end up with something playful enough to make everyone at the table grin. That is a pretty good return on one piece of paper.
Conclusion
If you want a craft that is easy to learn, fun to repeat, and entertaining after it is finished, the origami jumping frog is hard to beat. It uses simple materials, teaches useful folding skills, and delivers a satisfying little hop when you get the spring just right. Better still, it is the kind of project that welcomes experimentation. Make one. Make five. Race them. Decorate them. Start a tiny paper frog league if the mood strikes.
Once you know how to make an origami jumping frog, you have a go-to activity for rainy afternoons, classroom craft time, party tables, or those moments when your hands want to do something creative that does not involve a screen. Not bad for one square of paper and a few clever folds.